How to Make Vibrant Rainbow Fruit Lollies: Healthy & Easy
As the sun climbs higher and the days stretch longer, there's a universal craving for something cold, refreshing, and utterly delicious. While ice cream often comes to mind, its rich, creamy texture can sometimes feel a little too heavy when what you truly desire is something light and revitalizing. Enter the magnificent world of healthy rainbow fruit lollies – a perfect solution that’s not only a treat for your taste buds but also a feast for your eyes.
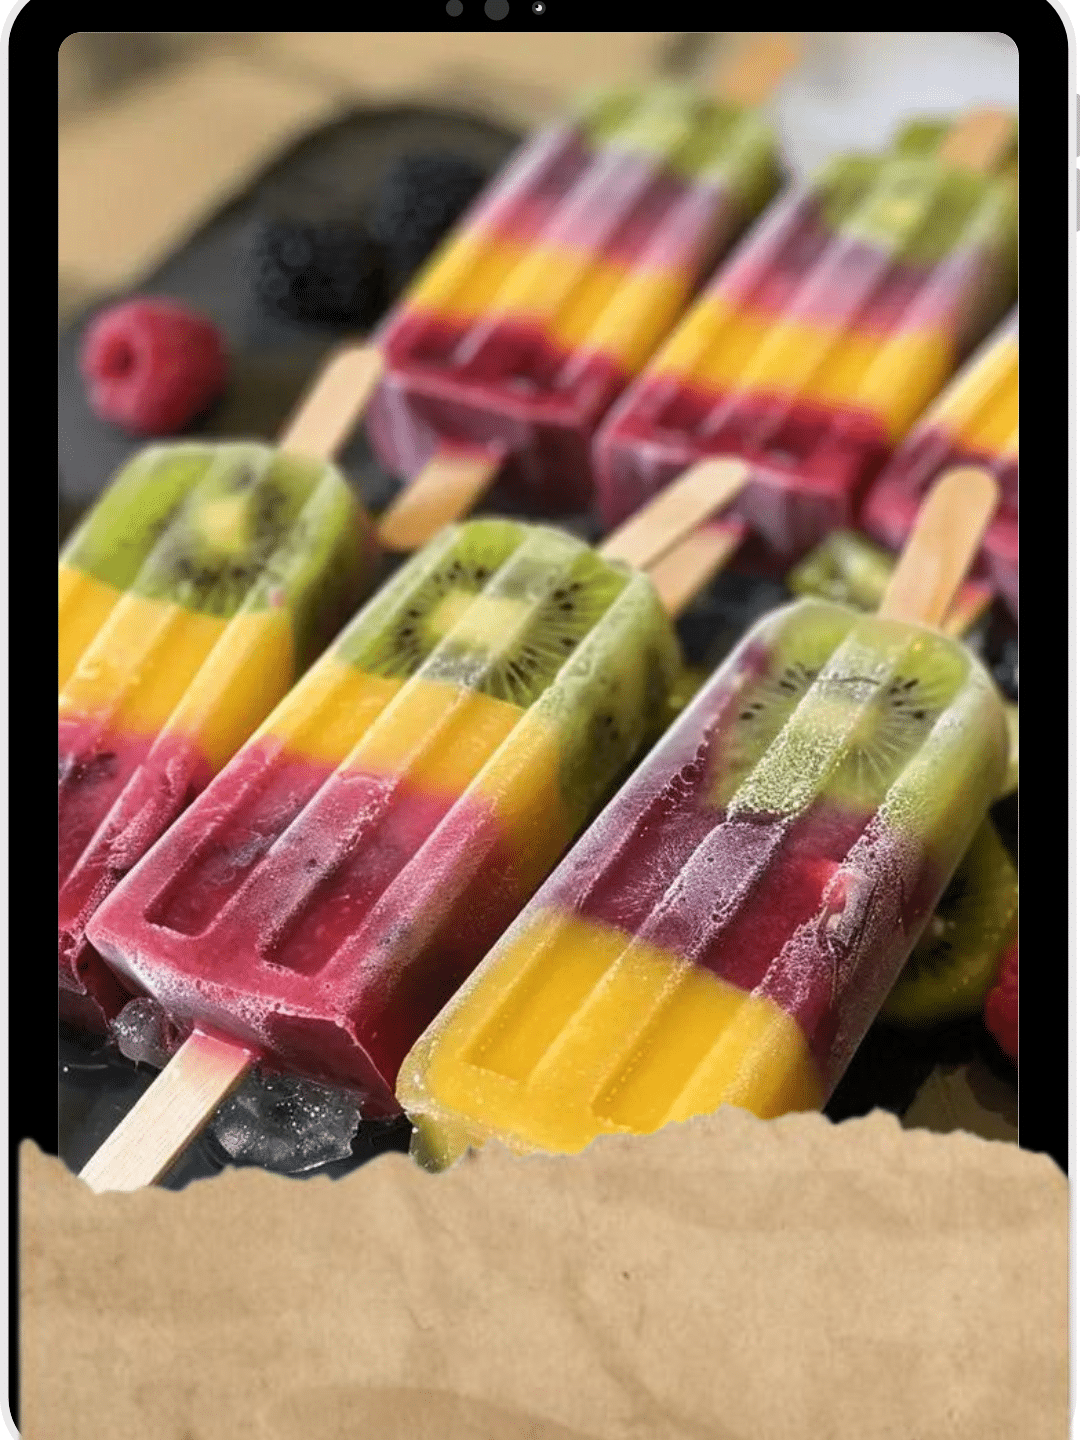
These vibrant, homemade frozen delights are crafted primarily from 100% fruit, making them an incredibly nutritious and guilt-free indulgence for the whole family. Imagine biting into layers of naturally sweet, tangy, and cool fruit on a hot day – pure bliss! Beyond their refreshing taste, rainbow fruit lollies offer endless customization, a kaleidoscope of colors, and a simple preparation process that makes them accessible to everyone, regardless of culinary skill.
Why Choose Healthy Rainbow Fruit Lollies? A Spectrum of Benefits
Beyond their undeniable visual appeal, Rainbow Fruit Lollies: The Healthy, Customizable Treat for All offer a wealth of advantages that make them a standout choice for a healthy snack or dessert.
Nutritional Powerhouse
- Packed with Vitamins and Minerals: Each layer of fruit contributes its unique set of nutrients. Strawberries bring Vitamin C, mangoes offer Vitamin A, kiwis provide Vitamin K, and blueberries are rich in antioxidants. By combining various fruits, you create a comprehensive nutritional profile.
- Rich in Fiber: Made from whole fruits, these lollies retain all the beneficial fiber, aiding digestion and promoting a feeling of fullness. This makes them a more satisfying and beneficial choice than many commercially produced ice pops.
- Free from Artificial Additives: When you make them yourself, you control every ingredient. This means no artificial colors, preservatives, or excessive added sugars often found in store-bought frozen treats. It's pure, unadulterated goodness!
Irresistible Visual Appeal and Versatility
- A Feast for the Eyes: The stunning layered effect and bright colors make these lollies incredibly attractive, especially to children. They're a fantastic way to encourage picky eaters to consume more fruit. Their photogenic quality has also made them a social media sensation, inspiring countless home cooks to get creative.
- Endless Customization: The beauty of these lollies lies in their versatility. You can mix and match any fruits you desire, creating unique flavor combinations to suit personal preferences, seasonal availability, or dietary needs. Have a favorite fruit? Make a lolly with it!
- Guilt-Free Indulgence: Finally, a treat you can enjoy without a second thought! These lollies provide that satisfying cold sensation without the heavy feeling or sugar crash associated with many other desserts. They truly hit the spot when you crave something light and refreshing.
Essential Ingredients for Your Vibrant Creations
Creating spectacular healthy rainbow fruit lollies begins with selecting the right ingredients. The simpler and fresher, the better!
The Fruit Palette: Building Your Rainbow
The key to a visually striking rainbow is to choose fruits that represent different colors and blend smoothly. Opt for ripe, in-season fruits for the best flavor and natural sweetness, often eliminating the need for any added sugar.
- Red: Strawberries, raspberries, watermelon, red cherries.
- Orange: Mango, peaches, cantaloupe, papaya.
- Yellow: Pineapple, banana (use quickly as it browns), yellow mango, golden kiwi.
- Green: Kiwi, honeydew melon, green grapes. For an extra nutrient boost without noticeable flavor, a tiny handful of spinach can be blended into a green layer.
- Blue/Purple: Blueberries, blackberries, purple grapes, acai.
The Liquid Base: Achieving the Perfect Consistency
A small amount of liquid is often needed to help blend the fruits into a smooth puree. Choose wisely to maintain the healthy profile:
- Coconut Water: A fantastic choice that adds a subtle natural sweetness and electrolytes without overpowering the fruit flavors.
- Fruit Juice: If using, opt for 100% natural, unsweetened fruit juice. Freshly squeezed orange or apple juice can work well in small quantities.
- Plain Water: A simple and effective option if you want to let the fruit flavors truly shine and don't wish to add any extra sweetness.
Optional Enhancements (Keeping it Healthy)
While ripe fruit often provides enough sweetness, you might occasionally want a little boost or a different flavor profile:
- Natural Sweeteners: A teaspoon of honey, maple syrup, or agave nectar can be added if your fruit isn't quite sweet enough. Remember, a little goes a long way!
- Flavor Boosters: A squeeze of fresh lemon or lime juice can brighten the flavors and add a refreshing zing, especially to berry or tropical fruit layers. A few fresh mint leaves can also add a delightful coolness.
Crafting Your Own Rainbow: A Step-by-Step Guide
Making healthy rainbow fruit lollies is a fun and straightforward process. Here’s how to create your stunning frozen masterpieces:
- Gather Your Tools: You'll need popsicle molds (silicone molds are fantastic for easy demolding), popsicle sticks, a blender or food processor, a cutting board, and a sharp knife.
- Prepare Your Fruits: Wash all your selected fruits thoroughly. Peel any fruits that require it (like mangoes, kiwis, pineapples, bananas) and chop them into smaller, blender-friendly pieces. Keep each color separated.
- Blend Each Color Individually: For each fruit color layer, place the chopped fruit into your blender. Add a small splash of your chosen liquid base (coconut water, juice, or water) – just enough to help it blend into a smooth puree. The consistency should be thick enough to hold its own but liquid enough to pour easily. If desired, you can strain the purees through a fine-mesh sieve for an extra-smooth, pulp-free lolly.
- Layering for the Rainbow Effect: This is the key to those distinct, vibrant layers!
- Pour your first fruit puree layer into the bottom of each popsicle mold. Fill it about 1/5th of the way.
- Carefully place the molds into the freezer for 30-60 minutes, or until the first layer is firm enough to support the next layer without mixing. It doesn't need to be completely frozen solid, just firm.
- Remove from the freezer and pour in your second color layer. Return to the freezer to partially set.
- Repeat this process for each subsequent color. After the second or third layer, once the lolly is about halfway full and slightly firm, insert your popsicle sticks. This ensures they stand upright and are properly centered.
- Final Freeze: Once all layers are in and the sticks are inserted, return the molds to the freezer for at least 4-6 hours, or ideally overnight, to ensure they are completely frozen solid.
- Demold and Enjoy: To release your beautiful rainbow lollies, briefly run the molds under warm water for 10-20 seconds. Gently pull on the stick, and your perfect lolly should slide out.
Expert Tips for Vibrant Layers & Endless Customization
Elevate your healthy rainbow fruit lollies game with these insider tips and creative ideas:
Mastering the Layers
- The Partial Freeze is Non-Negotiable: We can't stress this enough! Without partially freezing each layer, your beautiful rainbow will just blend into a single, less impressive color. Patience is a virtue here.
- Consistent Puree Texture: Aim for a similar thickness across all your fruit purees. If one layer is much thinner than another, it might seep into the layer below, even if partially frozen.
- Keep Purees Chilled: While you're waiting for layers to set, keep your un-poured fruit purees in the refrigerator to maintain their cold temperature and freshness.
Flavor Combinations and Themed Lollies
Don't be afraid to experiment! Here are some ideas to spark your creativity:
- Tropical Paradise: Layers of pineapple, mango, and kiwi.
- Berry Blast: Strawberry, raspberry, and blueberry.
- Citrus Zing: Orange, lemon (with a touch of natural sweetener), and lime.
- Kid-Friendly Favorites: Stick to naturally sweet fruits like strawberry, banana, and watermelon for guaranteed success.
- Hidden Veggies (Shhh!): For an extra health boost, a small amount of steamed and cooled carrot (orange layer) or spinach (green layer) can be blended in. The fruit flavor will dominate, making it a clever way to sneak in extra nutrients.
Beyond Traditional Molds
No popsicle molds? No problem!
- Ice Cube Trays: Perfect for mini, bite-sized fruit treats.
- Small Paper Cups: Fill small paper cups, cover with foil, and poke a stick through the foil for a rustic, easy-to-peel option.
Storage and Enjoyment
Once frozen solid, you can transfer your healthy rainbow fruit lollies from the molds into an airtight freezer bag or container. This prevents freezer burn and keeps them fresh for up to several weeks, though they rarely last that long! For more ideas and inspiration, be sure to also check out Unlock the Joy of Rainbow Fruit Lollies: 100% Fruit & Fun.
Making healthy rainbow fruit lollies is more than just a recipe; it's an experience. It’s a creative outlet, a nutritious choice, and a delightful way to beat the heat. With their vibrant colors, incredible freshness, and endless customization, these homemade fruit lollies are destined to become a summer staple in your home. So gather your favorite fruits, get blending, and prepare to enjoy a truly guilt-free and refreshing treat!
